
How to Make: Forsaken Island-Inspired Soap!
Contributed by Caitlin Eha. You can visit her at https://caitlineha.com/
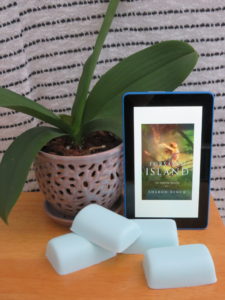
The Forsaken Island book features a lush, tropical landscape filled with verdant plant life. The tutorial below teaches you how to make scented soap inspired by this fascinating environment!
Note: When I first started making my own soap, I learned from this blog post tutorial in addition to reading the product packaging instructions.
Materials:
I found my soap-making supplies at a Hobby Lobby store and bought some of the crafting utensils at a dollar store. Your local craft store or an online retailer should be good places to find the same or similar materials.
You will need:
- A microwave-safe mixing bowl
- Note: You want this bowl to be big enough that hot soap won’t splash over the sides when you stir the mixture.
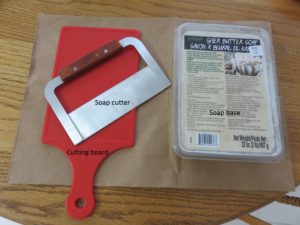
- A soap cutter OR a large kitchen knife
- A flat spatula
- A rubber spatula
- A large mixing spoon
- A cutting board
- An oven mitt
- A block of soap base (I like to use a shea butter soap base, but there are other options!)
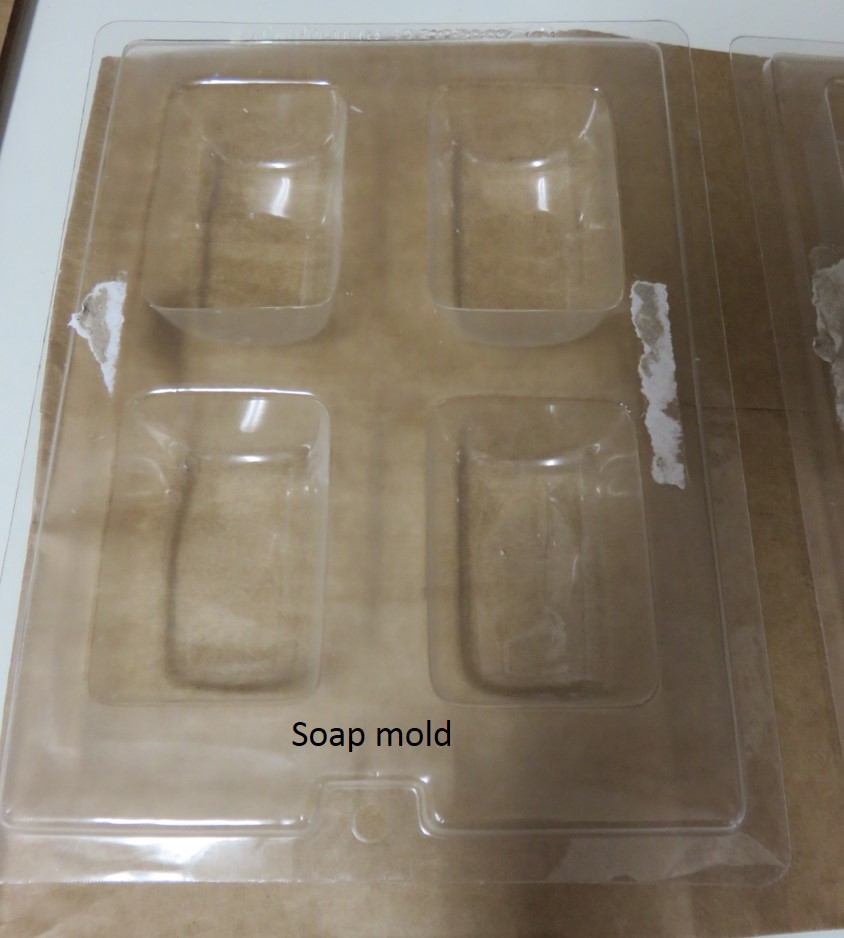
- A soap mold (these are usually silicone or plastic)
- Soap fragrance and/or essential oils in the scents of your choice
- Note: If you want your soap to have the same fragrance as mine, I used:
- Country Lane™ Liquid Candle and Soap Fragrance: Cucumber Melon
- Crafty Bubbles™ Cedar Wood Essential Oil
- Note: If you want your soap to have the same fragrance as mine, I used:
- Soap dye/coloring
- Measuring spoons
- Note: Check the instructions on the packaging for your soap scent(s) and dye(s) to see if you’ll need these. Some products tell you to use a certain number of drops and others give you measurements.
- Optional: A dropcloth or paper grocery bags (to keep your workspace clean)
Instructions:
PLEASE NOTE: Soap fragrances and soap dyes can be skin irritants. Only use fragrances and dyes in your soap that specifically say they are for soap making.
Be careful to follow the packaging instructions and don’t exceed the maximum amount of fragrance and dye for the volume of soap you’re working with. If you’re combining scents, you’ll have to do some math. For example, if you’re using two scents, don’t exceed half the maximum amount of each.
After your soap is made, it’s a good idea to try it out and make sure it agrees with your skin before using it on a daily basis.
Without further ado, let’s make some Forsaken Island soap!
1. Start by setting up your work area. I usually put the soap base, cutting board, and soap cutter in one area. Then I put the mixing utensils and oven mitt near the microwave and set the soap mold, fragrance bottles, and dye bottles nearby.
2. Remove the block of soap base from the package and place it on the cutting board.
3. The soap base should be pre-sectioned. Use the soap cutter (or kitchen knife) to cut the desired amount of soap base into cubes. (The base I buy is 2 pounds and I only make 1 pound at a time.)
4. Put the soap cubes into the mixing bowl.
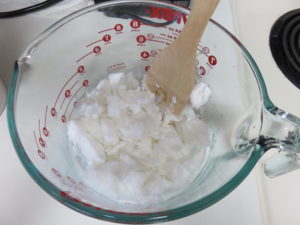
5. Microwave the soap for short intervals to melt it. Check the packaging instructions on your soap base for microwave temperature and time. I microwave my soap for 30 second intervals. (You may need the oven mitt to get the bowl out of the microwave, especially as the soap heats up.)
6. Between each interval in the microwave, take the soap out and start smashing and stirring it. Then keep putting it back in the microwave and repeat the process until it becomes a liquid. I typically start by chopping the soap up with the flat spatula. As it becomes more fluid, I stir it with the mixing spoon and use the rubber spatula to get any extra soap off the sides of the bowl.
7. Once the soap is liquid, you’re ready to start adding the fragrance. Following the measurement instructions on the fragrance packaging, add the fragrance to the melted soap and stir it in. (You don’t have to use the maximum amount of fragrance; you may find that you prefer a lighter scent.)
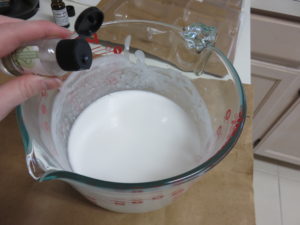
Note: Many fragrances come in dropper bottles, and not all dropper bottles are created equal…some barely let a single drop out, and some will pour out a dozen drops in half a second. You may want to experiment with the dropper bottles before adding the fragrance to your soap.
8. Microwave the soap as needed to keep it in a liquid, easy-to-stir state. (The soap cools off very quickly.)
9. Once you’re happy with the fragrance, follow the measurement instructions on the dye packaging to add the soap dye. I combined two colors to give my Forsaken Island soap a light blue-green color.
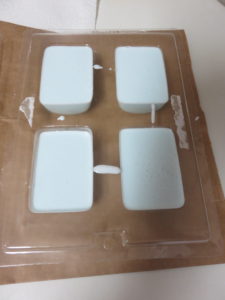
10. Microwave the soap again to make sure it’s in a fully liquid state. Then carefully pour the soap into the molds.
11. The packaging for your soap base should tell you how long to let the soap harden. The recommended time I’ve used is 40 minutes.
12. If, at the end of the recommended cooling time, your soap still feels warm through the mold, I usually pop the mold in the freezer for a few minutes to complete the cooling process.
13. Once the soap has hardened, turn the mold upside-down and carefully press the soap out of the molds.
14. Give your soap a try and enjoy!
Follow me on Social Media: